Thursday, March 17, 2011

Painting the Invitations!

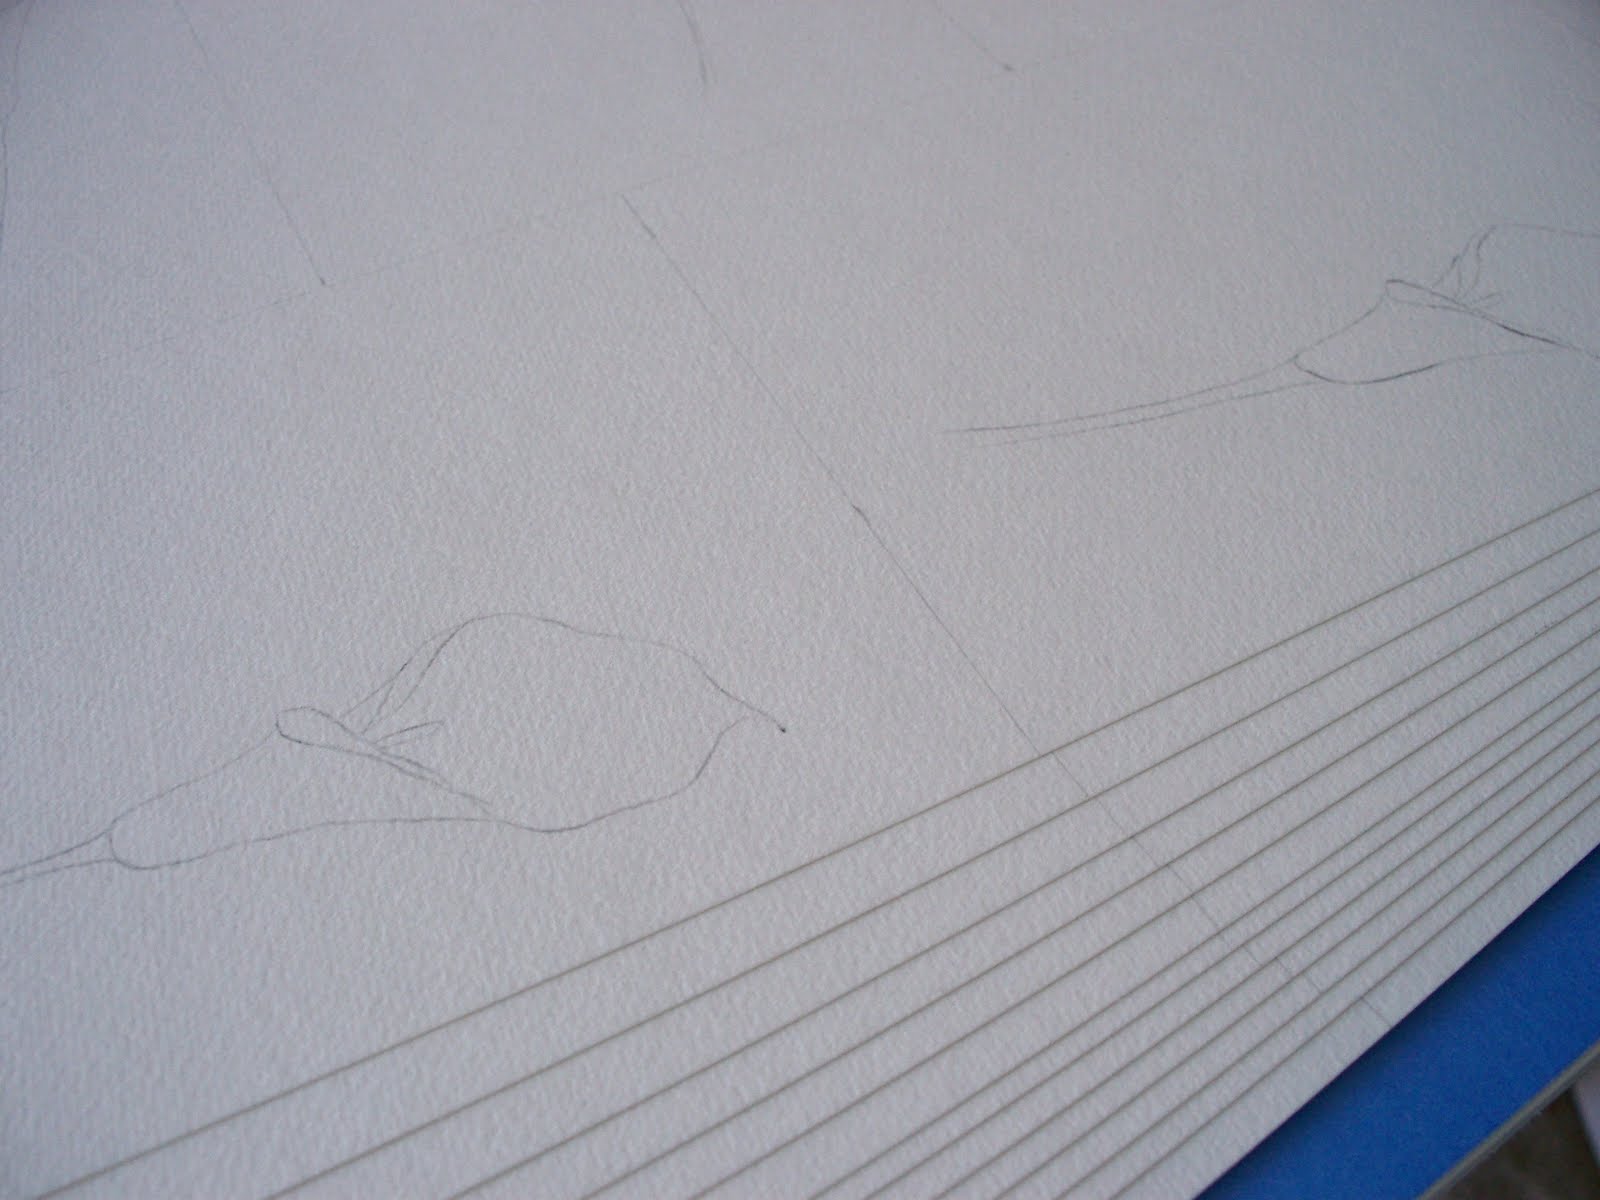
Yay! It's time for my favorite part of the invitation process....PAINTING! I love the challenge of painting an image like this calla lily multiple times. It's amazing to me every time how it begins to take on a life of it's own and each painting ends up similar, yet different. I have created a time-lapse video featuring one sheet of five invites being painted. Check it out below!


As you can see I work in layers, building up the color with each one. I start with the lightest color and go darker each time. Watercolor is a great medium for wedding invitations--I like how they provide a delicate yet striking look and can be manipulated so easily to create a dreamy and soft feel. I do have to work primarily wet-on-dry (rather than wet-on-wet, wet paint on wet paper) due to the fact that I have chosen not to stretch this watercolor paper--I have to keep the paint as dry as possible to avoid buckling in the paper. Once this sheet is done I still have many more to go!

For a better quality version of the video, visit www.facebook.com/BeckySorrentinoStudio

Wednesday, March 16, 2011

Calla Lily x 60

Now, it's time to transfer the image I have decided on to each of the 60 invites I have measured out. I draw the lily on a sheet of paper and coat the back with pencil lead. An old fashioned technique, yes, but it works!

I line up the template, pencil lead side down, to one of the invites and begin tracing over the drawing. By applying pressure while tracing, the lead transfers the image to the watercolor paper, leaving me a faint impression for painting.

Wash. Rinse. Repeat. Transfer the image as many times as needed. Over time, my templates tend to wear out and the paper begins to tear slightly or the image gradually becomes distorted too much for my liking. In that case, I just create a new one.

These pictures are faint, I know, but that is good for me! The lighter the lines that transfer, the less erasing and 'cleaning' up I have to do in the end. To get a better look, click on an image to enlarge. Next step is to begin painting!

Wednesday, March 9, 2011

Math and Art


So, after bombarding my brain with the numerous decisions that have been made up to this point, I then have to break out some math skills! I pull out my brand new ruler (thank you Santa!), my sharpest pencil and get started.

I know that I would like the final invite to be rectangular and read vertically. I know that a close-to-standard size for invites is 5.5" x 7.75". I also know that the sheets of watercolor paper that I plan on using are 12" x 18". (At this point, I have also double-checked that I can easily and affordably find appropriate sized envelopes for this size invite. :) ) Before I can go ahead and figure out how many invites I can fit on each watercolor sheet comfortably, I have to first consider that, though the invite's TOTAL size will be 5.5" x 7.75", that will not be the size of the watercolor portion...I have decided that it will be 5" x 7" because I have zero interest in tackling decimals right now! (and it will work aesthetically too) ;)

So then to the math (as if these numbers haven't already nearly maxed out my mathematical quota for the day).

With a 12"x 18" surface, I can fit three of the invites across (5" wide x 3 invites=15"...leaves me 3" to spare along the side) and I can then fit two invites sideways below those first three (7" wide laying sideways x 2=14") It will vaguely resemble this:


It works out perfect along the 12" side because 5" + 7" = 12" (duh!) Being able to fit five invites on one sheet is nice too because it makes the rest of the math easy! I plan on making 60 of these (enough for the bride and groom to have extras as well as myself!) so....how many sheets total will I have to make?? Anyone? Bueller? Bueller?

60 invites needed divided by 5 per sheet = 12! Phew!


Enough math for now; I have my numbers all set. Just need to start the measuring and marking!

I do apologize if I have completely bored you (or thoroughly confused you!). It really is simple math and just another part of the hand painted invitation process!

Thank you for reading and check back soon as I begin the transferring process! (finding a way to draw the same calla lily SIXTY times...)

Saturday, March 5, 2011

Color? Placement? Size?

Usually after sketching things out this way and that, I end up with a good idea of which direction to take but it will not be clear until I try out the ideas hands-on. Then, more decisions need to be made: What color do I want the flower to be? Do I only want there to be one flower for sure? Orange-ish? Red-ish? Should it be centered? Shifted right or left? Larger? Smaller? I like the idea of using a transparent vellum overlay to print the invitation wording on...so how will the painting look best underneath that and how bold should it be painted to convey the appropriate feel both with and without that vellum?? The best way to sift through these options is to actually try painting and layering it.

Mind boggling, I know.

But then there's more!

I will be mounting the painting to cardstock thus opening the door to a whole new slew of decisions to be made: this will be for an autumn wedding; golden oranges, browns, tans, earthy greens, deep eggplant and plum violets all make for great coordinating colors...but what looks best with the orange calla? And what are the actual colors of the wedding??

So, after some of those decisions are narrowed down, I can finally start creating!

Next step: MATH (yes, I said it) and transferring the image!

Thursday, March 3, 2011

New Invitations!

Since creating the new shop on Etsy, Bec Art Design, I have been so busy creating new hand painted card sets! I am happy to report that it is off to a good start with a few sales already in the books; how exciting?! I have also begun working on a set of wedding invitations per a request and have decided to document the process a bit to share with you! Many do not realize the numerous steps involved in creating a personalized, hand crafted, and hand painted invitation. So here we go folks.


As with any type of artwork that I do, I always start with some sketches. Sometimes I get to my sketch book in time, and sometimes I just pick up whatever scrap is nearest whether it be an envelope from the day's mail, an advertisement mailer, or even the water bill! It can make organizing everything a problem, but it always works out in the end. :)

Next, I'll be trying out different colors, placements, and sizes to start narrowing down the ideas even more!
See you soon!